Medical Devices, Quality & Testing, Design & Development
Syringe Pump Accuracy Troubleshooting in Real-World Infusion Setups
Updated
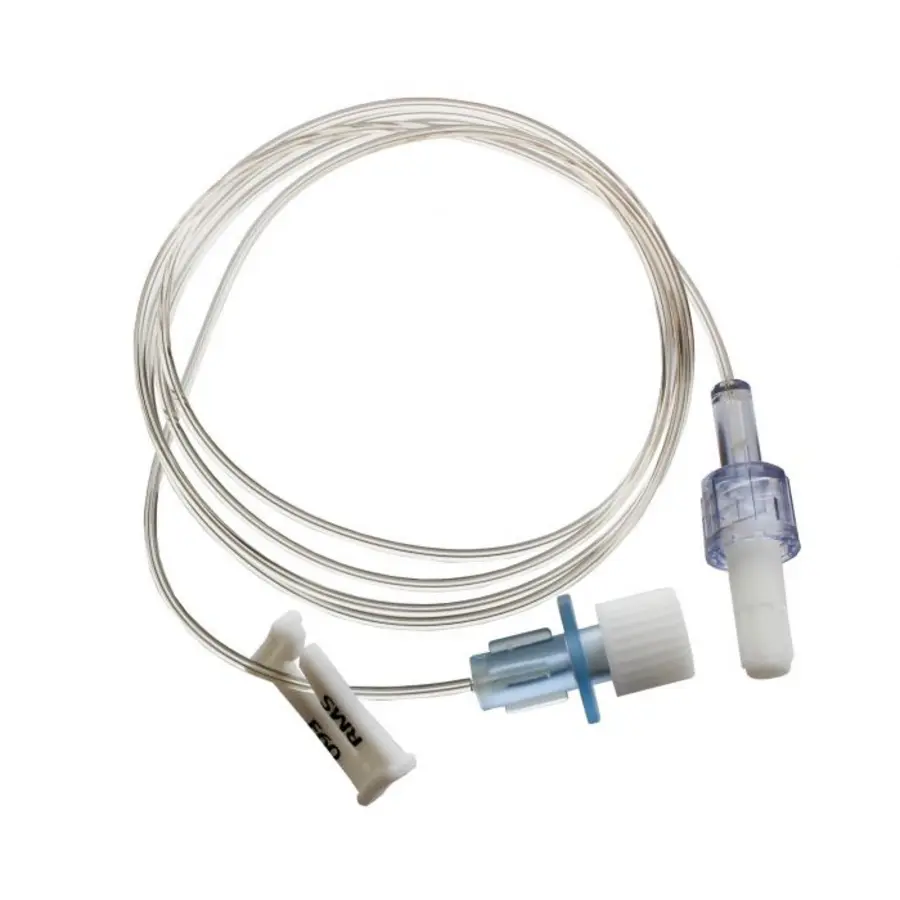
A syringe pump can move its pusher mechanism very accurately and still deliver the wrong volume at the patient, catheter, test fixture, or process endpoint. The published specification usually applies to defined test conditions. It does not automatically include syringe dimensional variation, air, tubing compliance, downstream resistance, elevation changes, or mistakes made during setup.
For syringe pump accuracy troubleshooting, treat the pump, syringe, fluid path, and operator settings as one delivery system. The practical question is not only whether the pusher travelled as commanded. It is whether the required volume reached the intended endpoint at the required time.
Start by defining the failure
“Accuracy failure” can describe several different problems. Separating them prevents unproductive recalibration of a pump when the actual cause is in the infusion set.
| Observed problem | Likely system-level cause | First check |
|---|---|---|
| Total delivered volume is consistently high or low | Wrong syringe selection, incorrect programmed diameter, syringe ID variation, scale or collection error | Syringe make, size, pump library entry, measurement method |
| No immediate flow after starting | Unprimed line, air, mechanical slack, plunger stiction, compliant tubing | Prime state, pusher contact, bubbles, tubing material |
| Flow starts late after a rate change | Compliance, air, high resistance, backlash or friction | Syringe and line elasticity, pressure build-up, downstream restriction |
| Flow stops or falls intermittently | Kink, partial occlusion, sticking plunger, loose syringe seating | Entire line, clamps, catheter, syringe movement |
| Volume arrives too quickly | Siphoning, gravity-driven flow, free-flow pathway, incorrect rate setting | Relative height, anti-siphon measures, connections, programmed units |
| Pump reports completion but little reaches endpoint | Leak, disconnected line, occlusion, dead volume, pusher not engaging | Connections, line integrity, distal collection test |
A useful investigation records the programmed rate, target volume, syringe manufacturer and nominal size, selected syringe profile, solution, line configuration, elevation, run duration, alarm history, and measured output. Without this information, repeated tests may not be comparable.
Understand what the pump specification covers
A syringe pump calculates flow from plunger displacement and the syringe dimensions entered or selected in its software. In simplified form:
Delivered volume = plunger travel × syringe internal cross-sectional area
The pump can control travel very well, but a small difference in internal diameter changes cross-sectional area and therefore volume. This is why a nominal “10 mL” or “20 mL” syringe is not necessarily interchangeable with another syringe of the same nominal capacity.
Published accuracy figures also need careful reading. They may relate to pusher travel, a particular compatible syringe, a stated flow range, a defined test duration, or a collection method under controlled conditions. They may exclude syringe tolerance and may not represent the volume emerging from a long catheter after startup.
Do not add every stated tolerance as if all errors always move in the same direction. Instead, use the specification to set an initial expectation, then verify the complete configuration used in the application.
Check syringe selection before investigating the pump
Syringe mismatch is one of the most common sources of consistent flow error.
Confirm the exact syringe profile
Verify all of the following:
- The syringe brand and model are approved or listed by the pump manufacturer.
- The programmed syringe selection exactly matches the syringe in the holder.
- Nominal capacity has not been mistaken for a different size with a similar-looking barrel.
- The syringe is seated fully, with its barrel flange and plunger flange correctly captured.
- The barrel is straight and the plunger is aligned with the pusher.
- The syringe is not damaged, distorted, excessively worn, or difficult to move manually.
A pump that uses manual diameter entry needs an especially controlled process. Record the diameter source and units. A diameter error is not a simple one-to-one volume error because area changes with the square of diameter.
Consider syringe material and compliance
Plastic syringes, elastomeric plungers, flexible extension sets, and trapped gas can all store energy under pressure. At startup, part of the pusher movement may expand these components rather than produce distal flow. When resistance falls, stored pressure can release fluid later.
This does not mean that one syringe material is universally better. It means that the syringe and tubing should be qualified for the target flow range, pressure, fluid compatibility, and required delivery timing. A configuration that is satisfactory for a moderate-volume, long-duration infusion may be unsuitable for a very low-flow dose change or a short micro-volume delivery.
Prime the complete fluid path, not only the syringe
A syringe may be bubble-free while the connection, extension tubing, stopcock, catheter, or distal device still contains air. Air compresses much more than liquid. In a low-flow setup, even a small bubble can delay delivery substantially while the pump first compresses the gas and raises system pressure.
Use the approved priming procedure for the device and application. The aim is to fill the complete intended flow path and remove visible air before connecting to the endpoint where appropriate. Check interfaces carefully because bubbles often remain at luer connections, stopcocks, filters, and changes in tubing diameter.
Also distinguish priming volume from dead volume:
- Priming volume is the fluid needed to fill the system before use.
- Dead volume is the internal volume between the source and endpoint that affects delay, fluid changeover, residual fluid, and dose arrival.
Dead volume does not necessarily mean fluid is permanently trapped. In many systems it is displaced eventually. But it creates an important delay when initiating an infusion or switching from one solution to another. For high-potency drugs, low-volume studies, or rapid transitions, document the volume and account for it in the procedure.
Inspect resistance, kinks, clamps, and leaks
A syringe pump generates force against downstream resistance. It cannot determine from pusher movement alone whether fluid is flowing through an unrestricted line, building pressure behind a blockage, expanding tubing, or escaping through a leak.
Work from syringe to endpoint
Inspect the path in order:
- Confirm the syringe outlet connection is secure.
- Trace every extension set, stopcock, valve, filter, and connector.
- Check that clamps are open and stopcock handles are in the intended position.
- Look for flattened tubing, tight bends, pinched segments, and tubing caught under equipment or bedding.
- Examine the catheter or distal restriction for displacement, clotting, particulate blockage, or a bend caused by movement.
- Look for moisture, droplets, staining, or loose connections that indicate leakage.
A partial occlusion is often harder to identify than a complete blockage. It may allow flow at one rate but create excessive pressure or delayed delivery at another. A line can also appear open during visual inspection yet kink when the subject, bed, door, or equipment moves.
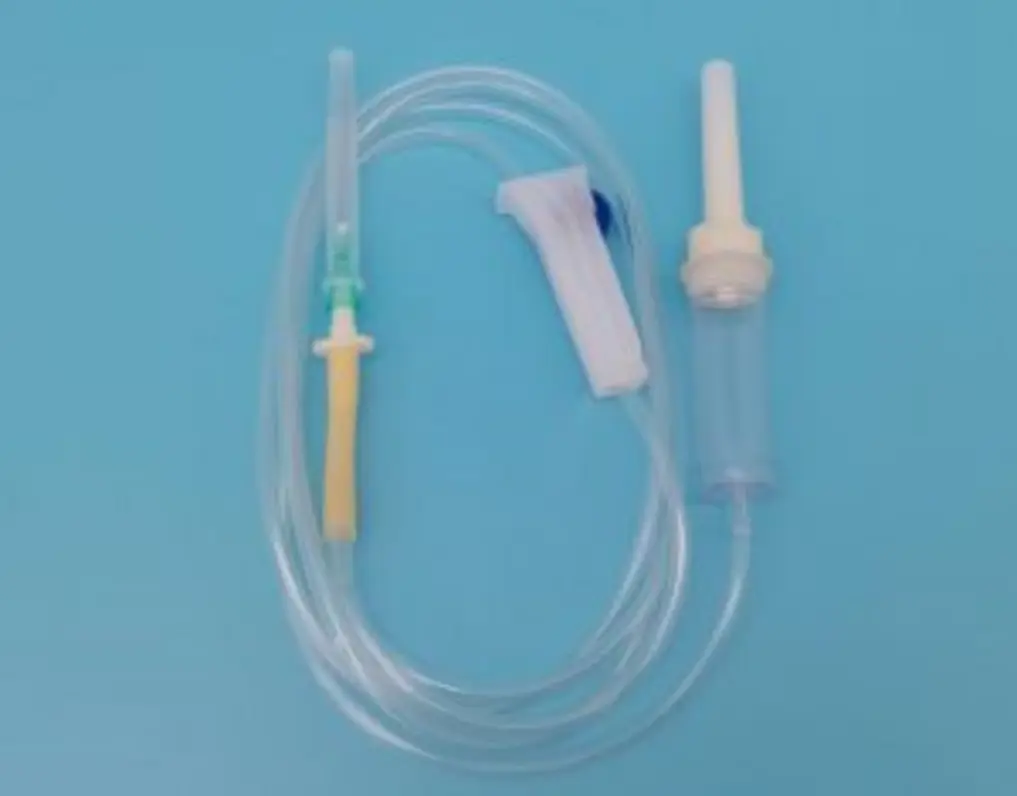
Do not rely on an occlusion alarm as proof of flow
Occlusion alarms respond to pressure-related conditions and thresholds set by the device. Their timing depends on flow rate, syringe size, line compliance, alarm settings, and the location and severity of the restriction. At low rates, it may take a long time for pressure to reach the alarm threshold.
An alarm is a safety feature, not a real-time flow measurement. If delivered volume matters, verify output by an appropriate method rather than assuming that “no alarm” means “correct flow.”
Control gravity and siphoning
If the fluid source is positioned above the distal endpoint, hydrostatic pressure can assist flow. If the geometry creates a siphon, fluid may continue moving faster than intended, including when the pusher is not maintaining firm control of the plunger.
This is most relevant when there is a substantial elevation difference, a low-resistance outlet, or a setup that can move during operation. Check whether the syringe location, line routing, and endpoint height match the validated configuration.
To reduce risk:
- Keep the pump and endpoint at the planned relative height.
- Secure the syringe and tubing so their positions cannot change unnoticed.
- Use only approved valves or anti-siphon components where the application requires them.
- Verify that the pusher remains in contact with the syringe plunger and that the syringe cannot migrate in its holder.
- Assess expected behavior after pausing, restarting, repositioning, or disconnecting according to the device instructions.
Do not improvise clamps or valves that add unknown resistance or defeat the intended safety design.
Treat low flow as a separate operating condition
At low flow rates, small mechanical and fluidic effects become large relative to the commanded volume. Common contributors include stepwise motor motion, drive backlash, stiction between plunger seal and barrel, tubing expansion, air bubbles, evaporation in open collection tests, and long settling times after starting or changing rates.
A pump may meet a long-term average flow target yet have meaningful short-term variation. This distinction matters when the process is sensitive to early delivery, rate changes, pulse-free flow, or a brief dose.
For low-flow troubleshooting:
- Use a syringe size appropriate to the target flow and required run time, within the pump manufacturer’s supported range.
- Avoid unnecessarily long or soft tubing.
- Minimize connectors and unnecessary dead volume.
- Remove air and allow the system to stabilize before collecting performance data.
- Test the actual rate-change and startup sequence rather than only a long steady-state run.
- Measure over a duration long enough for the method to resolve the target volume reliably.
Changing to a smaller syringe can improve resolution, but it is not automatically the solution. It changes pressure behavior, usable run time, compatibility requirements, and the importance of syringe-specific tolerance.
Verify programming and operator steps
Many apparent pump failures are setup failures. A structured independent check is more effective than asking an operator to repeat the same sequence.
Confirm:
- Flow units: for example, mL/h versus mL/min.
- Total volume, time, and rate agree mathematically.
- Direction is infusion rather than withdrawal.
- The selected channel is the intended channel.
- The displayed syringe type matches the installed syringe.
- Any bolus, ramp, delay, keep-vein-open setting, or programmed step sequence is understood.
- The syringe has enough usable volume after priming.
- The pump was started and not left paused, on standby, or stopped after an alarm.
In controlled environments, use a setup checklist and retain the configuration as part of the run record. For recurring applications, standardize the syringe, extension set, connectors, mounting position, rate range, and verification method. Variation in disposable components and assembly is otherwise easily mistaken for pump drift.
Verify delivered output with a fit-for-purpose test
When troubleshooting continues after a basic inspection, test the assembled system at the distal outlet, using a method suitable for the intended use and local quality procedures.
A gravimetric method is commonly useful for aqueous fluids: collect output over a defined interval and determine mass with a suitable balance, then convert using the fluid density where required. Volumetric methods can also be appropriate. The test should control evaporation, collection losses, temperature effects, and timing uncertainty.
The most informative verification mirrors actual use:
- Same pump and channel
- Same syringe brand, model, and size
- Same solution or a justified surrogate
- Same line length, connectors, filter, and catheter or restriction
- Same rate, duration, and elevation arrangement
- Same priming and startup sequence
First test the pump and syringe with a simple, short fluid path. Then add the normal infusion set. If output is correct in the simple configuration but not in the full system, the issue is likely downstream. If output remains wrong, investigate syringe selection, mechanical engagement, programming, and pump service status.
Know when calibration or service is the next step
Calibration is appropriate when the device manufacturer specifies periodic performance verification, after repair, after a failed acceptance test, or when a controlled system-level investigation points to pump-related error. Follow the manufacturer’s instructions and the facility’s maintenance program. Do not adjust internal settings based on an informal collection test unless the manufacturer’s approved service process allows it.
Remove the pump from service and escalate through the appropriate biomedical engineering, quality, or service route when there is unexplained motor behavior, damaged holders or drive components, unreliable alarms, repeated unexplained deviation with approved syringes, or failure of required verification tests.
The key lesson is simple: pump accuracy is not a property of the pump alone. Reliable delivery depends on the matched syringe, a primed and intact line, controlled pressure and elevation, appropriate low-flow setup, correct programming, and verification at the point that matters.